

Find out how to construct a DIY arched inbuilt bookcase with drawers
There may be all the time one undertaking in a room makeover that units the stage for the remainder of the design. It’s the primary design resolution I make after which the remainder of the room is designed round that one undertaking.
For this eating room makeover that undertaking is these DIY arched built-in bookcases.
I knew from the very starting I wished some lovely arched bookcases stained the identical shade because the board and batten in our not too long ago up to date entryway.
We constructed tremendous easy arched bookcase cabinets in our lounge a few years in the past so it simply made sense to hold that design function into the eating room.
This time although I knew I wished to additionally add drawers to provide us extra storage within the eating room.
Arched Constructed-in Bookcase Provides:
Eating Room Earlier than
After we first moved into our residence we put in this stone wall within the eating room. It has served us nicely the final couple of years however I used to be prepared for a change.
So step one in making over this eating room was to take away the stones and put them of their new residence, our out of doors gymnasium.
There was a variety of wall injury from the stone panels however the bookcases will cowl nearly all of it so I didn’t waste time repairing each screw gap.
Constructing the Bookcase Base
Prior to now I’ve used MDF for the bottom and that works nice in case you are wanting to color your bookcase. For this undertaking I wished the bookcases to be stained so I opted for paint panel boards.
I selected these as a result of I didn’t wish to rip a big piece of plywood they usually already come within the width I wished these bookcases to be, 12″.
To start out constructing the bottom, minimize the 2 facet bookcase items right down to the peak of your ceiling minus 4″. The minus 4″ is so it is possible for you to to face it up as soon as it’s constructed, so it’s fairly essential.
Subsequent minimize the paint panels right down to the size you need your cabinets to be. Our bookcases are two completely different widths so either side has completely different shelf size measurements.
Every bookcase has 5 shelf items, the one on the high and the one on the backside are only for stability although. So solely three of the 5 cabinets will really be cabinets.
Including the Cabinets
I positioned the underside help shelf on high of two 5″ scrap wooden spacer blocks and secured it to the bookcase partitions with wooden glue and nails.
Be sure that to have a sq. and degree helpful when putting in the cabinets.
Subsequent I added the highest bookcase shelf piece flush with the highest of the bookcase.
For the precise cabinets I used 18″ scrap wooden spacer blocks to set the space from the highest of the bookcase and in-between every shelf.
The spacer blocks make it a lot simpler to put the cabinets within the right place with out having to measure every time.
Including the Plywood Backing
For the bookcase backing I used 5mm plywood minimize right down to measurement. Any skinny plywood will work effective, the lighter the higher.
One factor that actually helped me throughout this undertaking was the Kreg round noticed rip jig. My mother purchased it for me and it was actually easy to arrange and far safer than attempting to tear giant items of plywood on my own with a desk noticed.
I connected the backing with wooden glue and smaller ending nails.
Securing the Bookcase to the Wall
After the bottom was constructed, I stood the bookcase up and put it in place on the wall.
To safe it to the wall I connected a protracted scrap 2×4 board to the again high of the bookcase.
As soon as it was connected to the bookcase I used lengthy wooden screws to connect the two×4 to studs alongside the wall.
Use a degree whereas attaching the bookcase to the wall to ensure it attaches in a degree place.
Find out how to DIY an Arch Cupboard
Creating the Arch
That is my second time slicing out an arch, the primary time was for our lounge cabinets.
I used the very same pencil and string technique I used earlier than.
Begin by discovering the middle of the 16″ large paint panel board. Then use a screw or screw hook to mark that spot on the backside of the paint panel.
Subsequent I traced one of many 1×3 trim items at every finish in order that I might mark how large I would wish the arch to be on the ends.
Then I took a string and wrapped one finish across the hook screw and the opposite finish to a pencil. To get the string size I held the string out till it touched the road I made with the 1×3 trim board.
Lastly, very rigorously and slowly draw the arch.The pencil ought to land on the inside trim mark on each side of the board.
Chopping the Arch
As soon as I used to be pleased with the way in which the arch regarded, I used a jigsaw to rigorously minimize it out.
My greatest recommendation is to chop as near the within of the road as doable, it’s higher to chop too little than to over minimize.
After the arch is minimize out it most likely received’t look good, until you’re skilled degree with the jigsaw noticed (I’m not).
Fortunately you possibly can sand any imperfections and make it appear to be a clean arch. In case you have a variety of wooden to take off begin with 80 grit sandpaper and work your method as much as 220 grit to clean the arch evenly.
Attaching the Arch to the Bookcase
To provide the arch one thing to connect to on the high, I used scrap wooden screwed into the highest of the bookcase.
Then I used wooden glue and nails to safe the arch to the perimeters of the bookcase.
Particular Notice: In the event you plan on having two arched built-in like we do however the width of the bookcases isn’t the identical there’s an additional consideration. Due to the completely different widths the arches can’t sit on the identical spot on the bookcase and look even. The bigger width bookcase arch received’t be capable of be set towards the ceiling so one other paint panel part will have to be minimize to shut that hole. Wooden filler and sanding will be sure that the 2 items mix collectively although!
Trimming the Arched Bookcase
Lastly it’s time to make this arched bookcase look built-in.
Including Easy Aspect Panels
If I wasn’t planning on staining this bookcase I may need skipped this step, however I actually need the bookcase to stain evenly.
So I ripped down extra 5mm plywood to cowl the facet of the bookcase going through the window. I connected the plywood with wooden glue and small ending nails.
This actually simply made the perimeters look smoother and extra completed.
Set up Baseboards
Subsequent I put in the brand new baseboards. I like to make use of 1×6 pine boards as baseboards as a result of they’re wider and thicker than customary baseboards.
I put in the brand new baseboards all through the room in order that the whole lot matched.
The baseboards on the backside of the bookshelf needs to be degree with the highest of the underside shelf. This manner there received’t be any bizarre ledge.
Putting in Arch Bookcase Trim
Now that the baseboards and arch are put in the remainder of the built-in will be trimmed in.
I used 1×3 pine boards for the lengthy facet trim items, attaching them with wooden glue and ending nails.
Subsequent I put in the shelf entrance trim utilizing the identical 1×3 boards. Stage the trim with the highest of the shelf items in order that they’re flush.
Tip: I sand every bit of trim earlier than I set up it, it’s a lot simpler to sand the whole lot whereas it’s laying flat.
On the very high of the bookcase I put in a bit of nook molding between the arch and the ceiling to provide the entire thing a completed look.
Including Drawers to the Arched Constructed-ins
Drawer Constructing Provides:
- 1×6 Boards (bigger drawers)
- 1×4 Boards (smaller drawers)
- 1×10 Board (bigger drawer face plate)
- 1×6 Board (smaller drawer face plate)
- 5mm Plywood (drawer backside)
- 1×3 Spacer Piece (non-obligatory)
- Drawer Slides
- Knobs/{Hardware}
- 1″ Pocket Screws
- Wooden Glue
Discovering Drawer Measurements
I actually wished to have some hidden storage within the eating room so I opted so as to add three drawers as an alternative of extra cabinets.
Each time we construct drawers we use this identical simple technique. In the event you would like to have inset drawer fronts right here is a straightforward tutorial to realize that look!
Begin by determining the size of your drawers. I wished two bigger drawers and one smaller drawer on the high.
These drawers can be 12″ deep (as a result of that’s the depth of our bookcase) and the size will be discovered by measuring the house inbetween the lengthy facet items of trim and subtracting the width of your drawer slides. Ours have been 1-1/2″ collectively so I subtracted 1-1/2″ from the size measurement.
For drawers bear in mind the face plate will be bigger than the precise drawers. Utilizing smaller items to construct the drawers and one bigger faceplate piece saves a bunch of cash.
Chopping Drawer Field Items
Begin by slicing the drawer items right down to measurement. When the drawer items are connected collectively the lengthy items will connect to the within of the shorter items so the width of that wooden must be subtracted from the size measurement. For instance if the size of your opening is 45″, you’ll subtract the slide width (-1-1/2″) then subtract the facet piece thickness (-1-1/2″) so your drawers can be constructed 42” lengthy.
After you have the lengthy and brief drawer items minimize, router a 1/4″ groove within the backside of every board. That is the place the drawer backside will go.
Subsequent drill two pocket holes in every finish of the lengthy drawer items. In the event you don’t have already got a pocket gap jig, this one is nice and an ideal newbie device.
Assembling the Drawer Bins
Now it’s time to begin assembling the drawer bins. Begin by attaching one lengthy drawer piece to at least one brief drawer piece with wooden glue and 1″ pocket screws.
It’s extraordinarily useful to have proper angle clamps when assembling drawers, these are the funds pleasant ones I’ve.
Subsequent connect the opposite lengthy and brief drawer items collectively so that you’ve got two drawer piece units constructed.
For the drawer backside measure the inside of the drawer field and add a 1/2″ to the size and width so that it’ll sit snugly contained in the groove you chop.
Lower the drawer backside out of 5mm plywood or one other skinny plywood.
Slide the drawer into one of many drawer units you assembled earlier, then connect the opposite set to the primary set utilizing wooden glue and pocket screws.
Take a look at the entire tutorial for mounting drawer slides right here!
Trimming the Drawer Face Plates
For the face plates I used wider boards than the drawers themselves. I minimize the face plates the size of the drawers plus 2″ in order that they’d overlap the cupboard on either side by 1″.
Then I sanded the boards with 220 grit sandpaper in order that they have been good and clean.
I actually wished these drawers to have fancy face plates identical to our workplace drawers.
So I used this small trim to border the face plate. This small trim cuts tremendous simply with my miter shears, then simply attaches with wooden glue and clamps.
Ending the DIY Drawers
Connect the face plates to the drawer bins by screwing them in from the within of the drawer.
I used shims to set the space between every drawer entrance however you might additionally use taking part in playing cards.
Ending the Arched Constructed-in Bookcases
Lastly it’s time to complete up this arched built-in bookcase!
I crammed all of the nail holes with stainable wooden filler and sanded these areas clean.
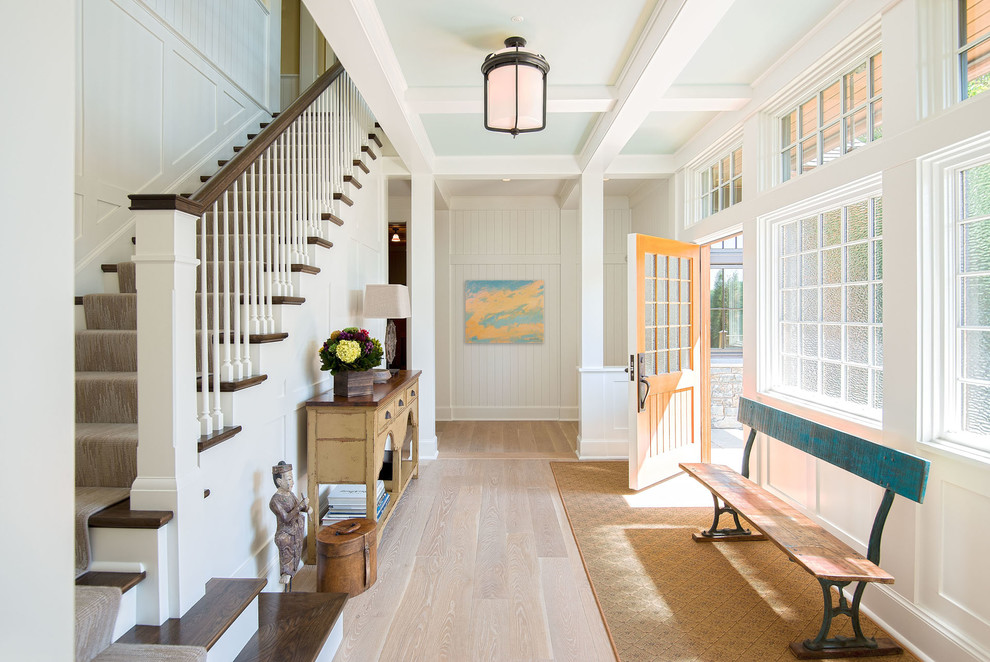
Then I used a Hickory Gel stain to stain all the bookcase. This is identical shade I used on the board and batten throughout our staircase/entryway makeover.
I did two coats of stain whole then sealed it with a polyurethane.
After the whole lot was dry, I connected these lovely brass knobs to the drawer fronts. I used these on our built-in kitchen IKEA cupboard too so I knew they’d be good for these drawers.
I used two knobs per drawer since they’re lengthy. To evenly place them, I measured the drawer entrance size and divided that quantity by 3. That measurement is the place you’ll place every knob on each side of the center of the drawer.
Right here is the {hardware} jig I exploit for each {hardware} set up we do!
DIY Arched Constructed-in Bookcase Reveal
I can’t even with these arched built-in bookcases!
They turned out even higher than I assumed they’d and I’m so glad I made a decision to stain them. They add a lot heat to the eating room.
I’m additionally loving all the additional storage they supply!
These DIY arched built-ins undoubtedly took probably the most time to finish out of all of the eating room tasks however they have been fully value it.
I can’t wait to share the remainder of this eating room makeover with you all quickly!
You May Additionally Like:
Find out how to Construct Constructed In Bookshelves on a Funds
Constructed In Cupboard DIY: Constructed-in Cupboards for the Kitchen
DIY Constructed In Bookcases With Bench Storage
DIY Constructed-in Bench With Storage
2
Like this:
Like Loading…
